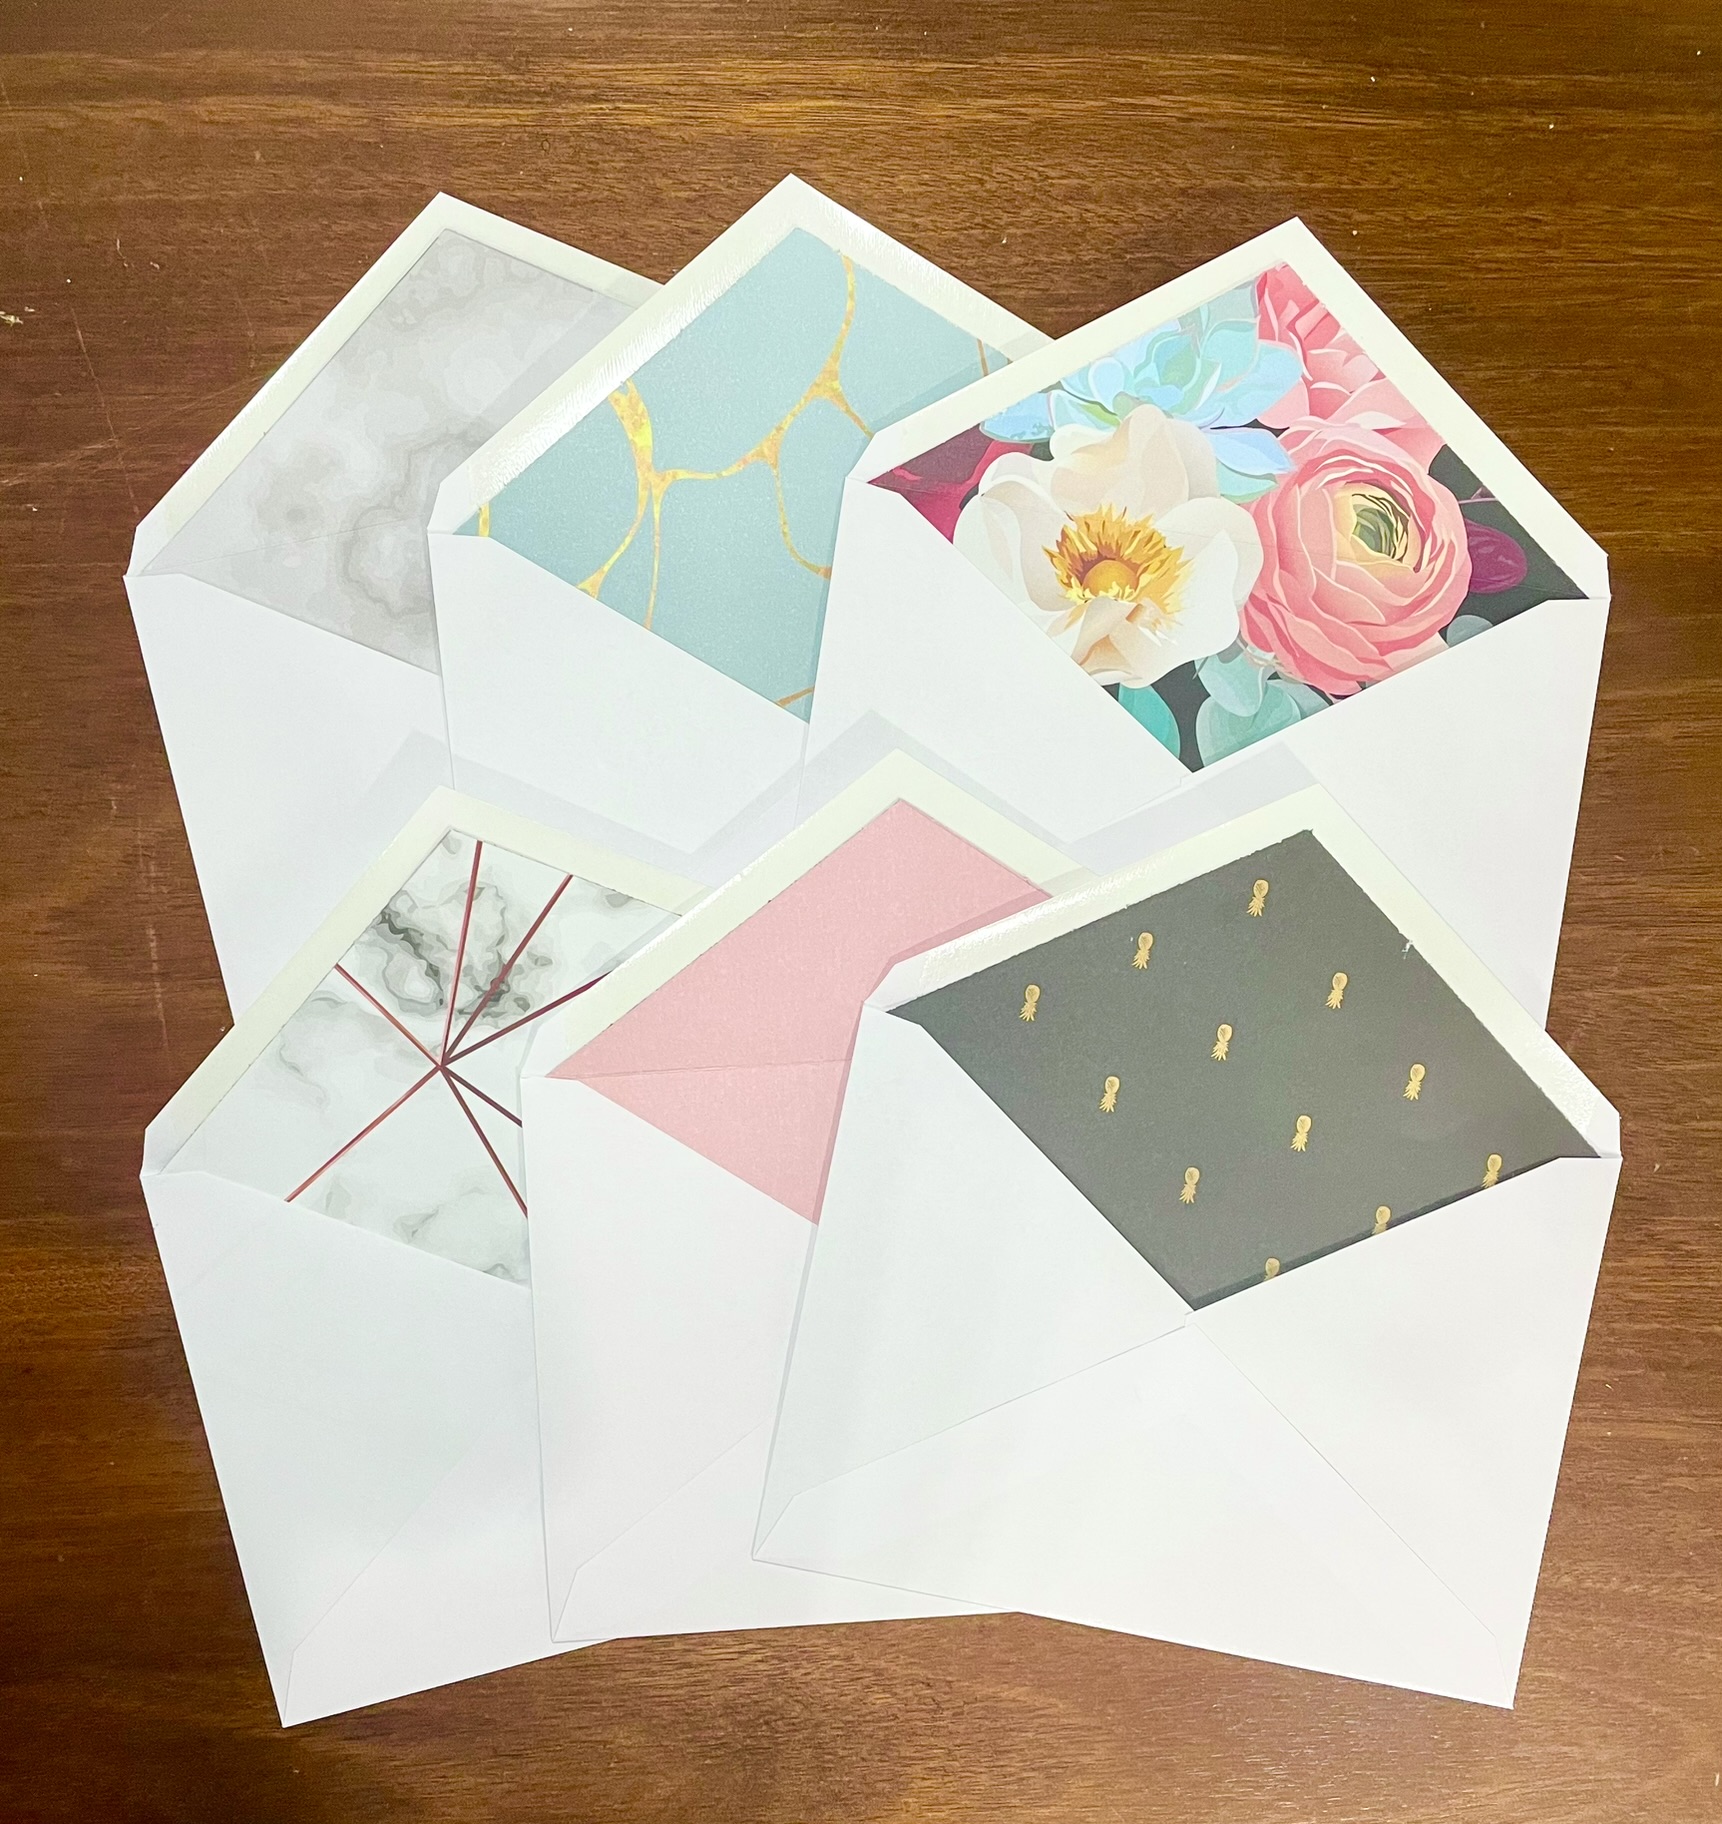
Easy DIY Envelope Liners for Your Wedding Invitations!
As I began designing my Save the Dates for my wedding, I wanted to make them as cute and personalized as possible. That’s when I stumbled upon the idea of creating my own envelope liners. It was such a fun and creative way to add a personal touch, so I wanted to share how I made them.
Gather Supplies:
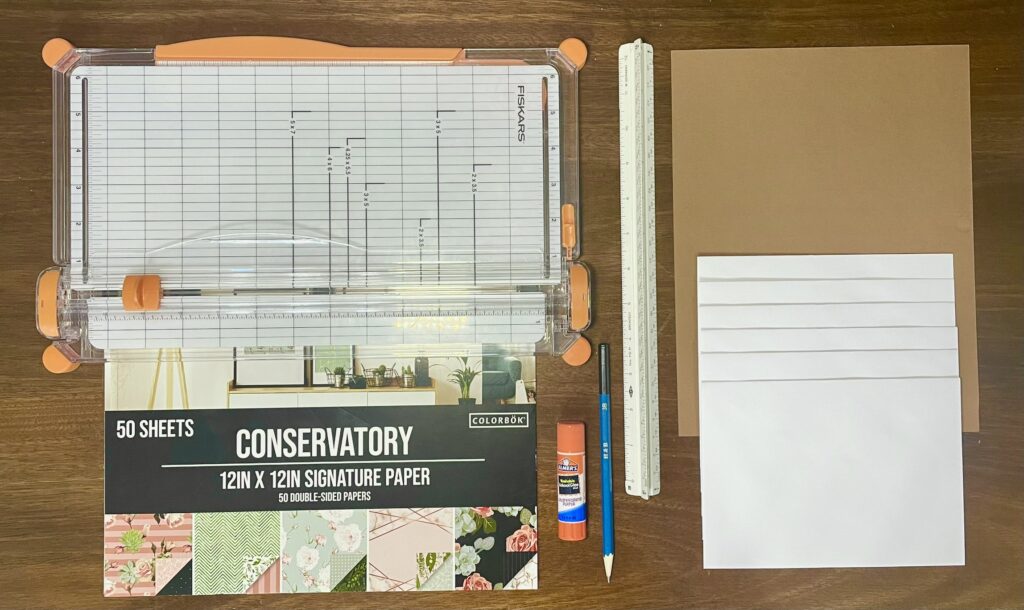
- Patterned Paper (I got mine at Walmart)
- Envelopes
- Paper Cutter
- Cardstock
- Elmer’s Glue
- Pencil
- Ruler
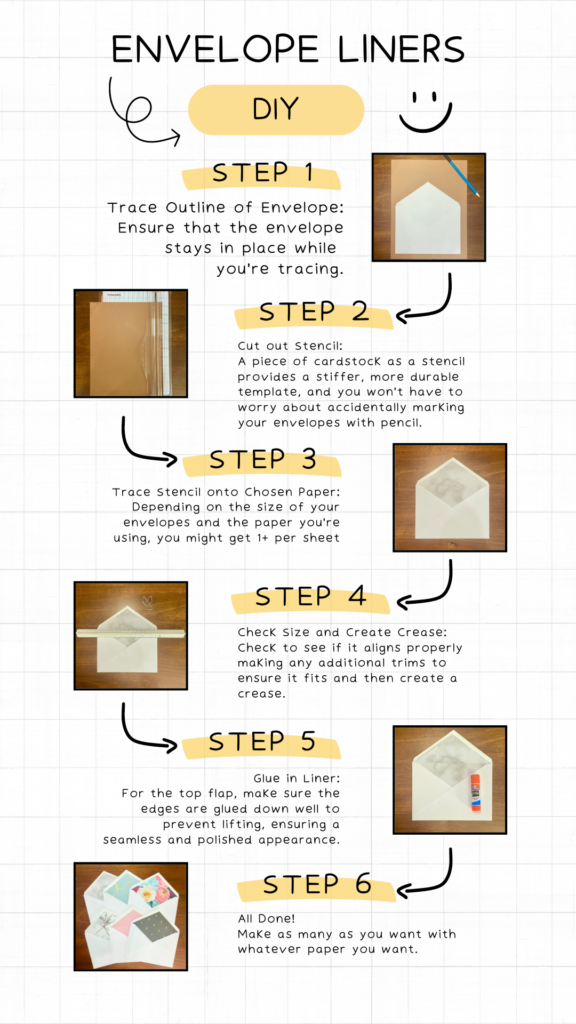
Step 1: Trace the Outline of Your Envelope
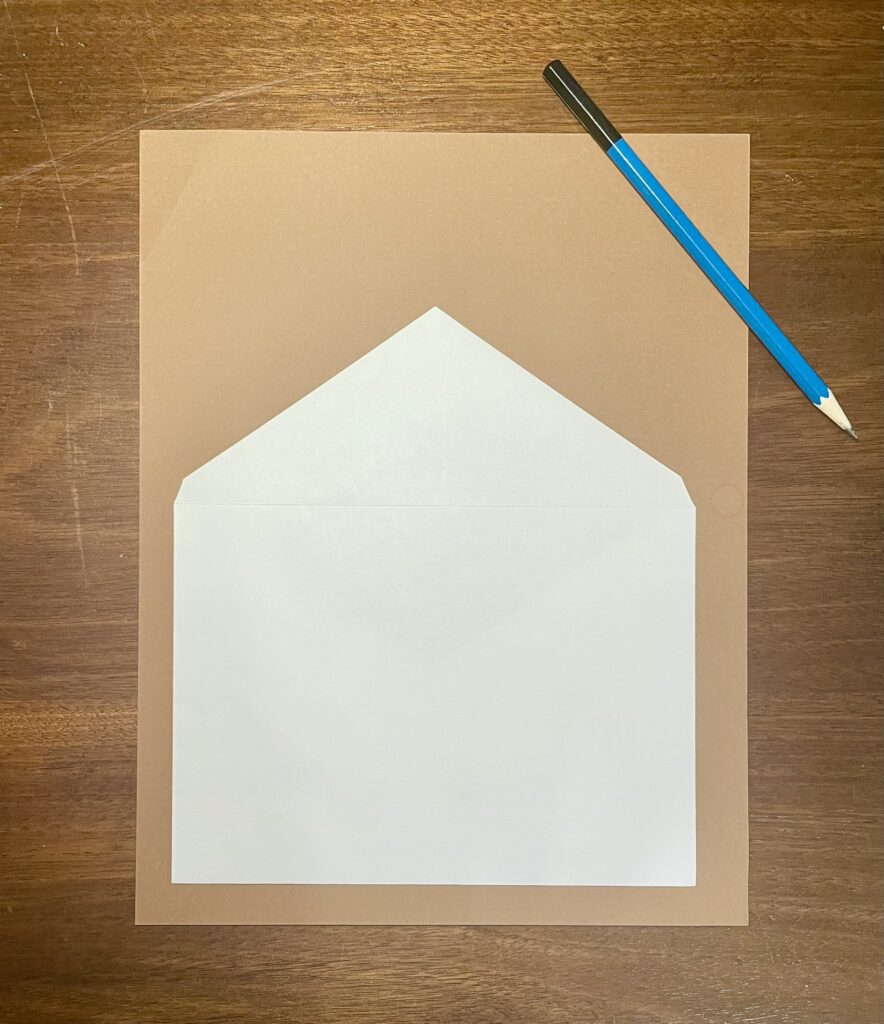
The key here is to ensure that the envelope stays in place while you’re tracing. This will help you achieve a precise and professional-looking liner.
Step 2: Account for Sticky Portion of Envelope
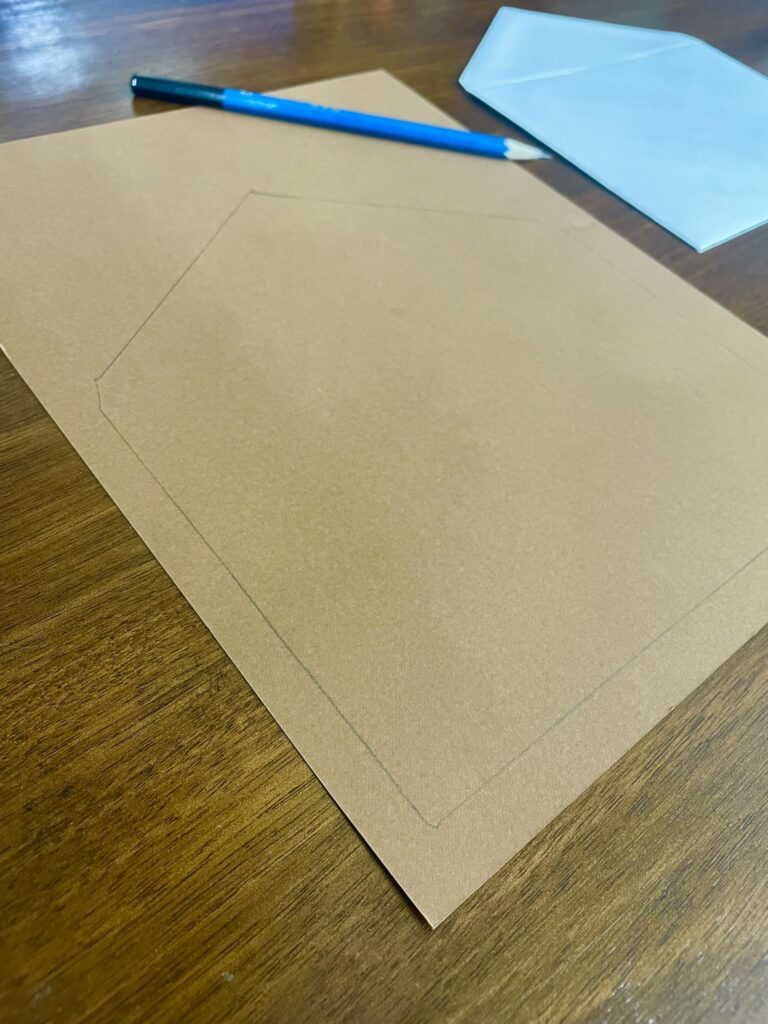
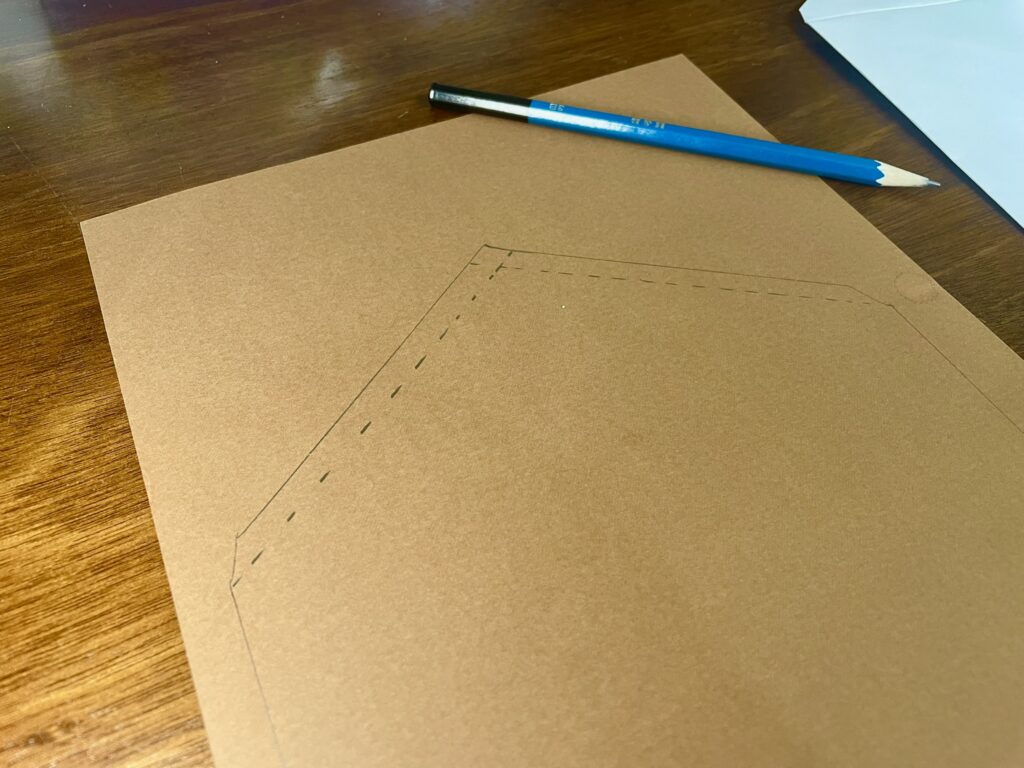
To ensure that the sticky portion for sealing the envelope remains exposed after inserting your liner, you’re going to want to cut extra from the top flap portion of the liner. Simply draw a line from the corner parallel to the top edge, and cut along this line. This method helps maintain a clean look while keeping the seal intact.
Step 3: Cut Out Your Stencil
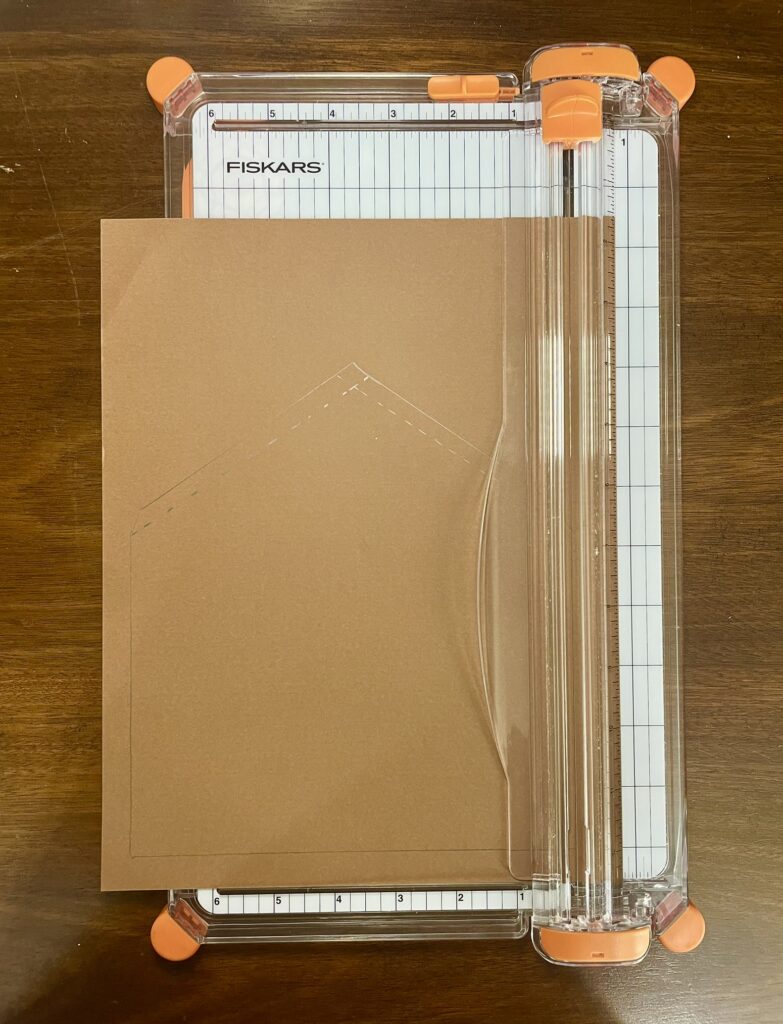
While you could trace the envelope onto each sheet of liner, using a piece of cardstock as a stencil is a better option. It provides a stiffer, more durable template, and you won’t have to worry about accidentally marking your envelopes with pencil.
Step 4: Trace Your Stencil onto Chosen Paper
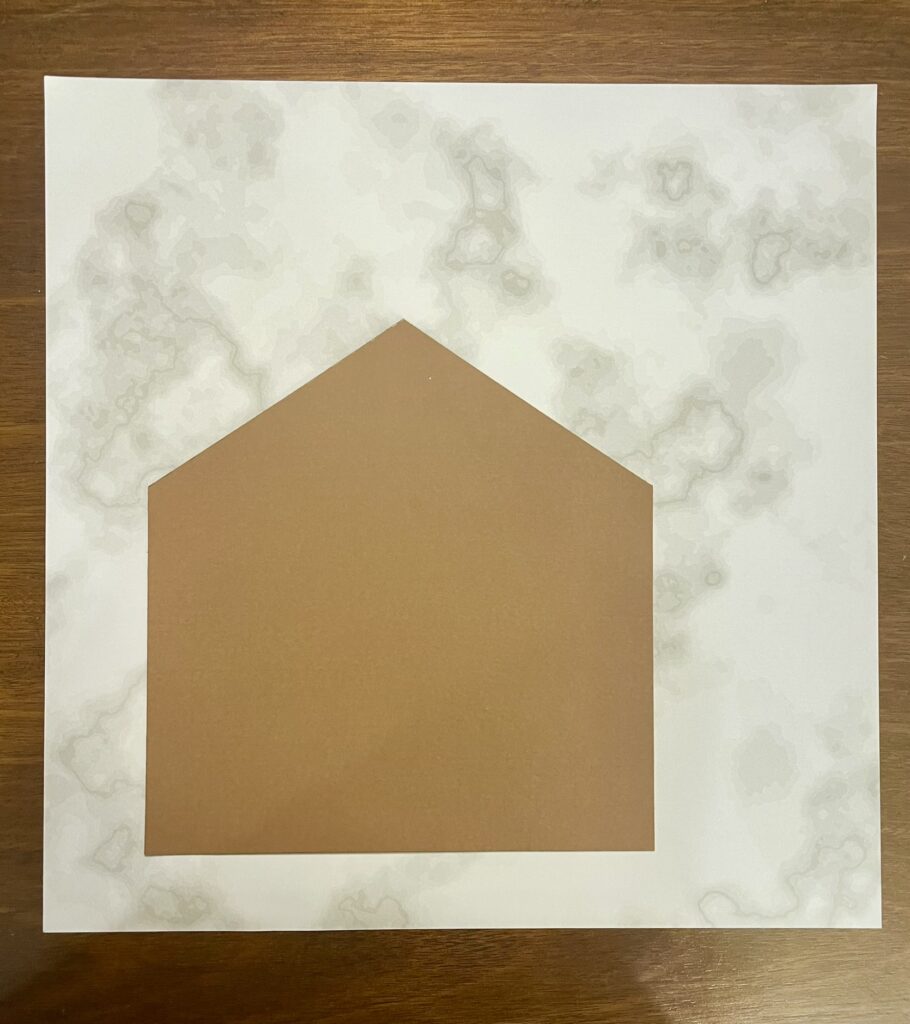
I was able to cut two liners from each sheet of paper, but depending on the size of your envelopes and the paper you’re using, you might get more or fewer liners.
Step 5: Check Size
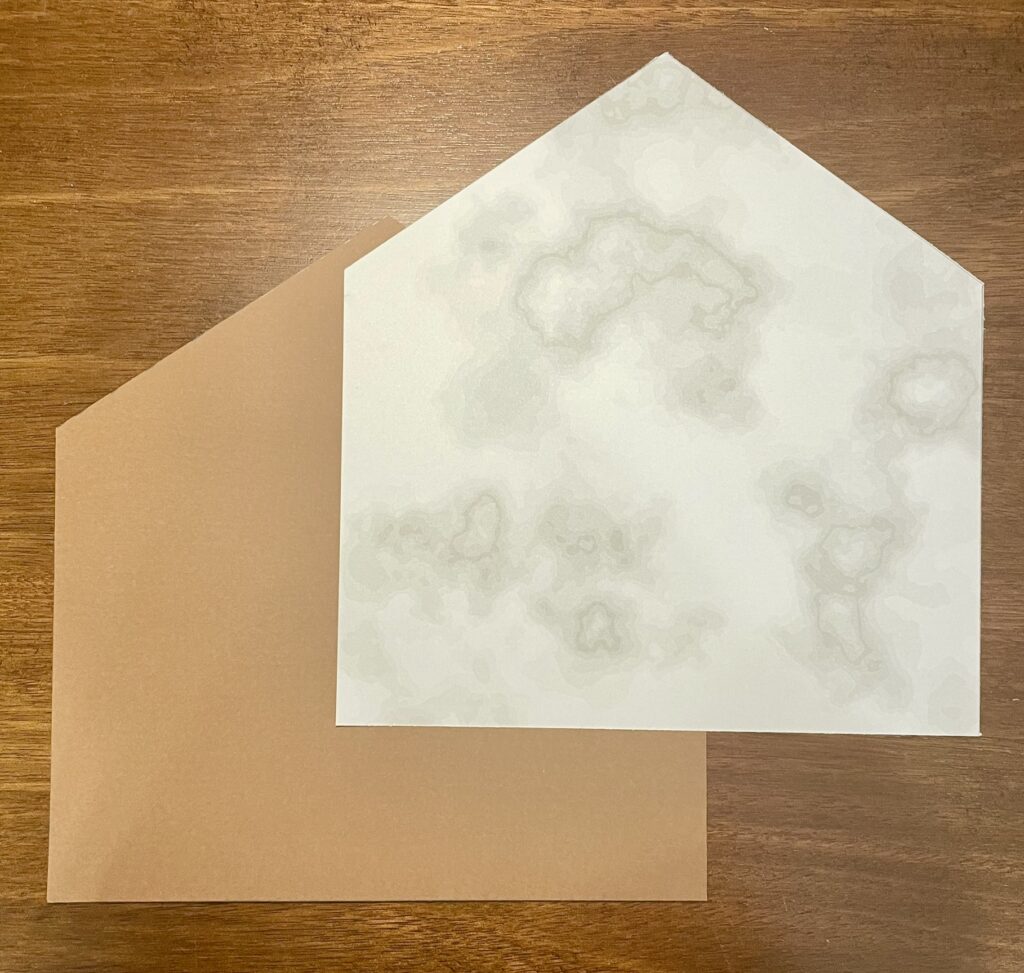
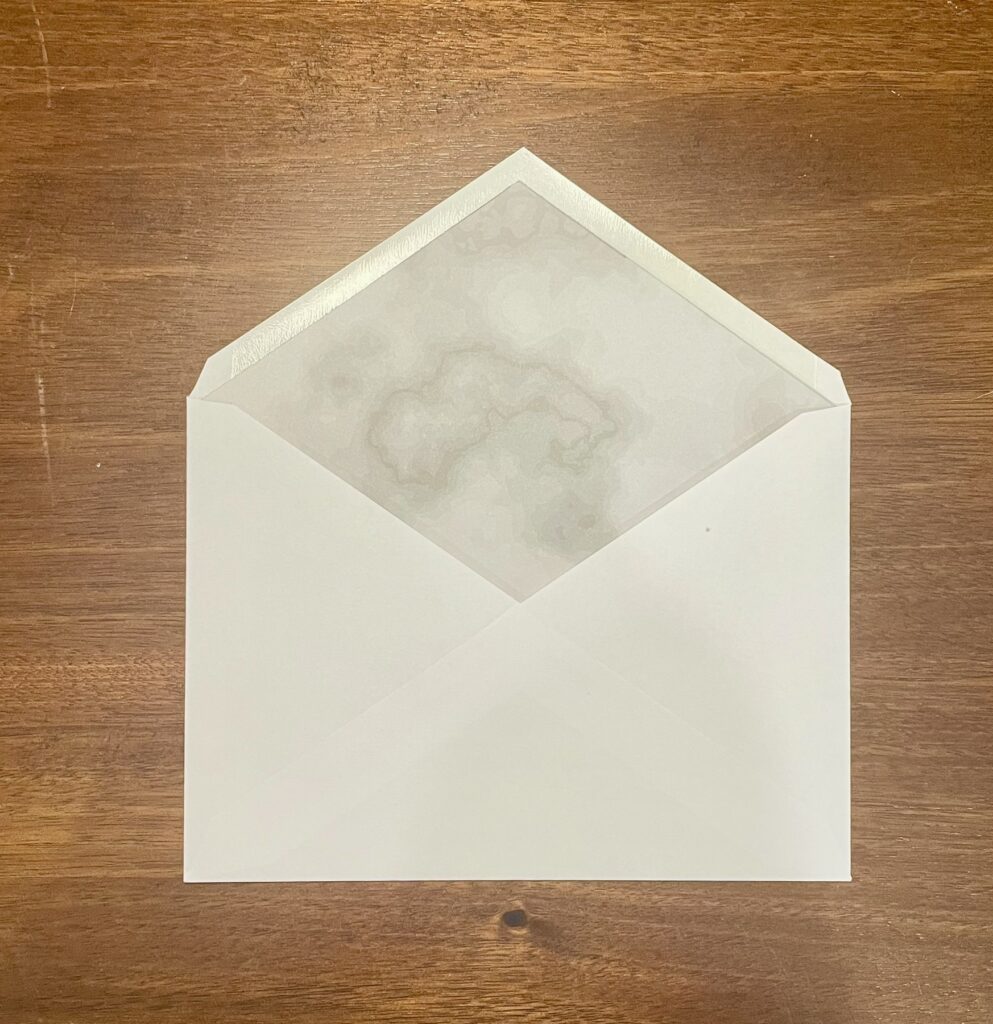
Once you’ve inserted the liner into the envelope, check to see if it aligns properly. If needed, make any additional trims to ensure it fits snugly and lines up correctly.
Step 6: Create a Crease
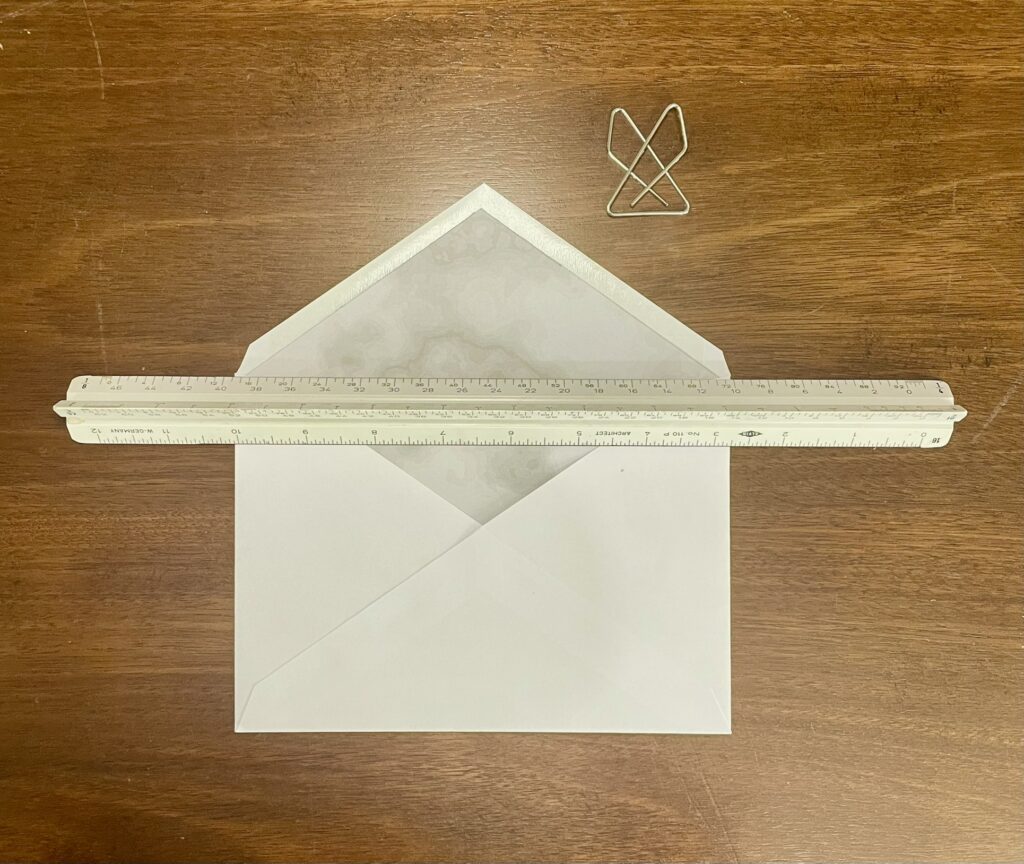
Using a ruler and a bone folder (or, in my case, a paperclip), create a crease in the liner where the envelope flap folds. This will help the liner fold smoothly along with the envelope flap for a neat and polished look.
Step 7: Glue in the Liner
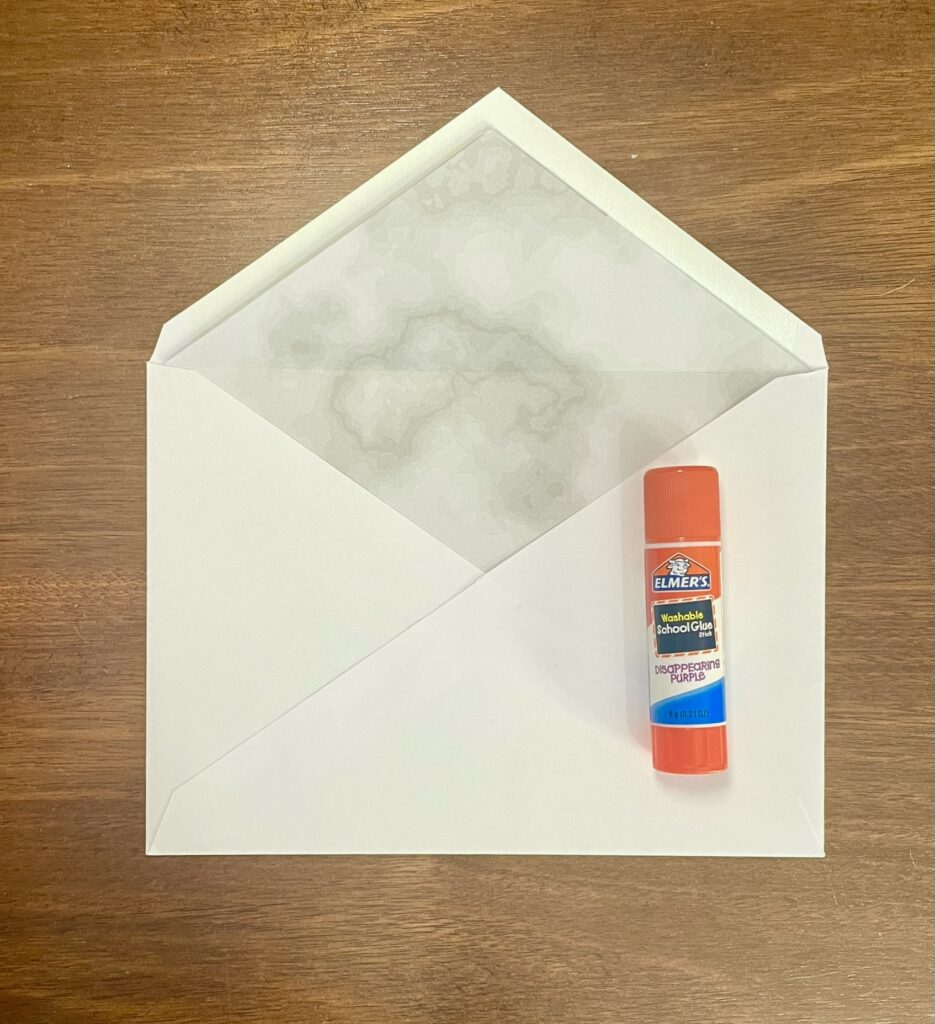
The easiest way to adhere the liner is to do it while it’s inside the envelope. Open the pocket created between the liner and the envelope, and apply glue—just enough to keep the liner secure, no need to coat every inch. For the top flap, make sure the edges are glued down well to prevent lifting, ensuring a seamless and polished appearance.
All Done!
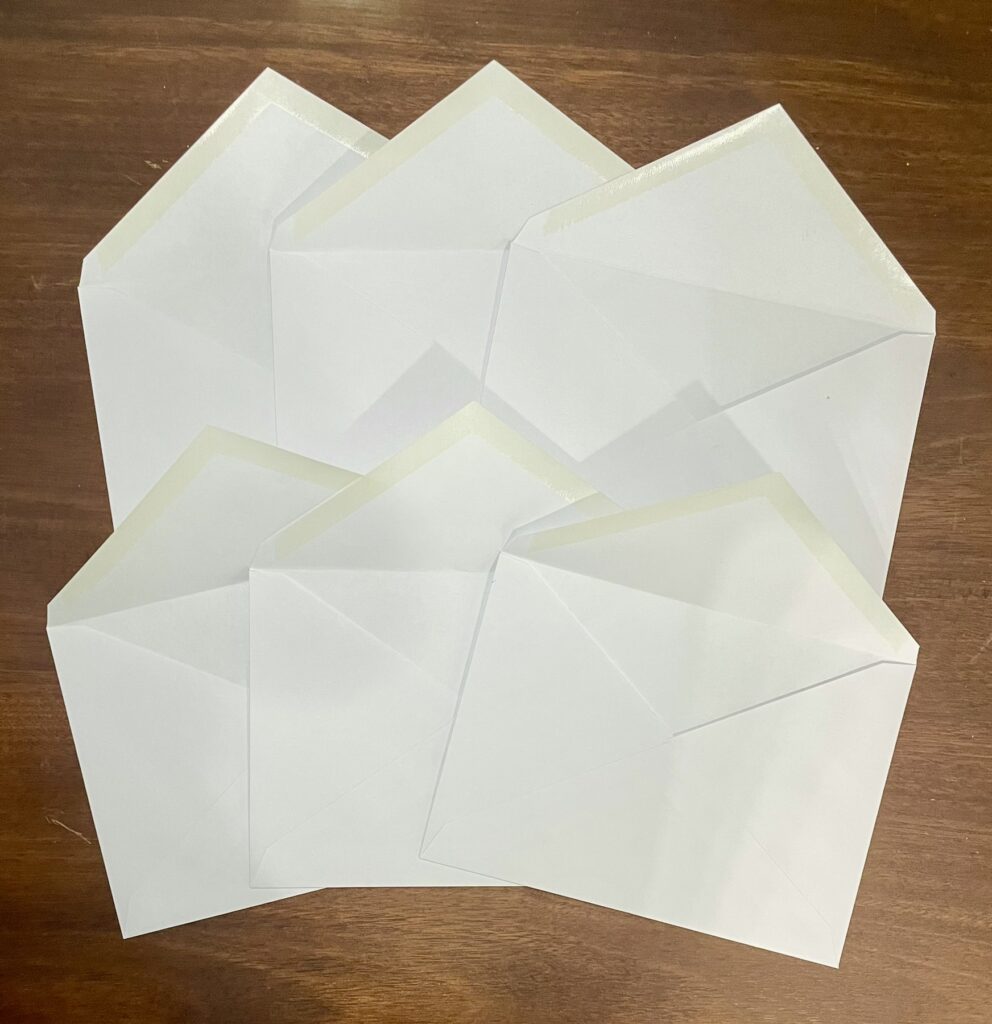
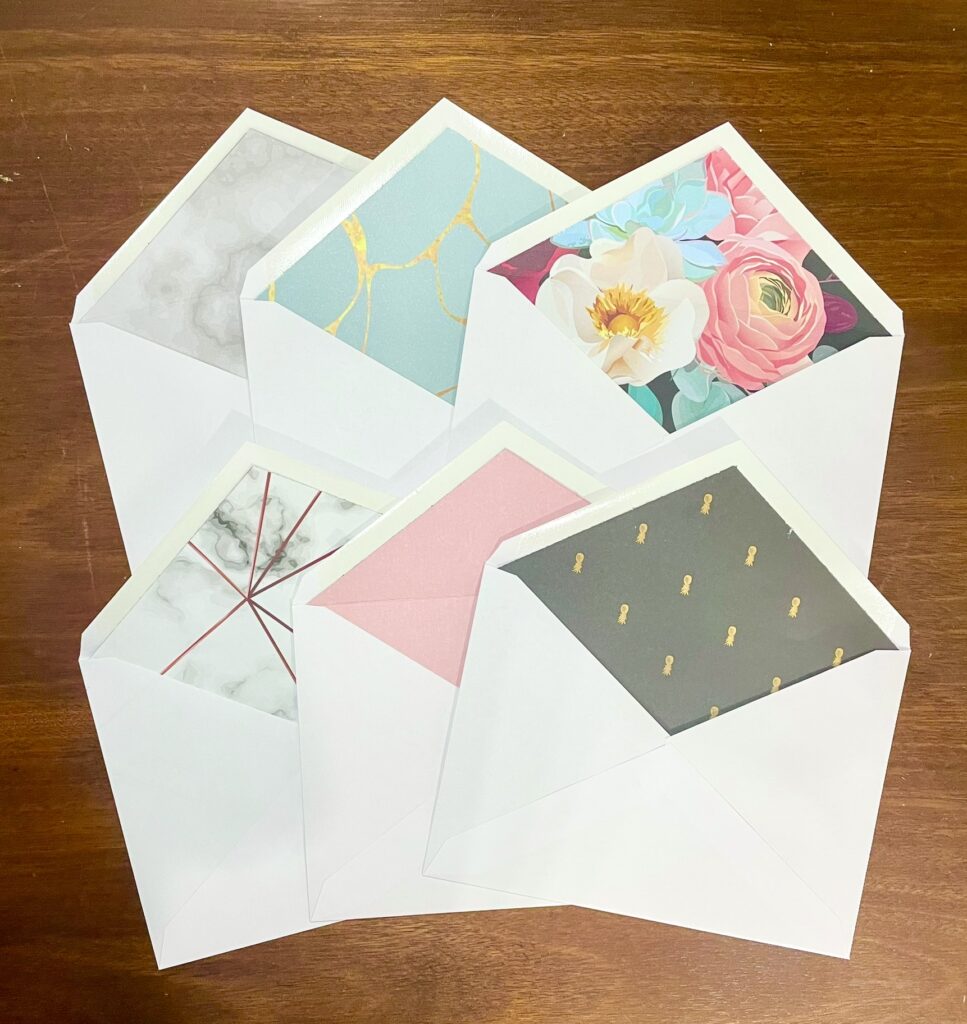
This craft can be personalized with any paper or pattern you choose, making it incredibly versatile. As shown above, it adds a charming touch that instantly elevates any plain envelope.



Comments
So cool! I always see envelopes with liners in store, but they are always so expensive. Thanks for sharing!
Glad you liked it, DIY liners are a budget-friendly way to add a special touch. Have fun creating!